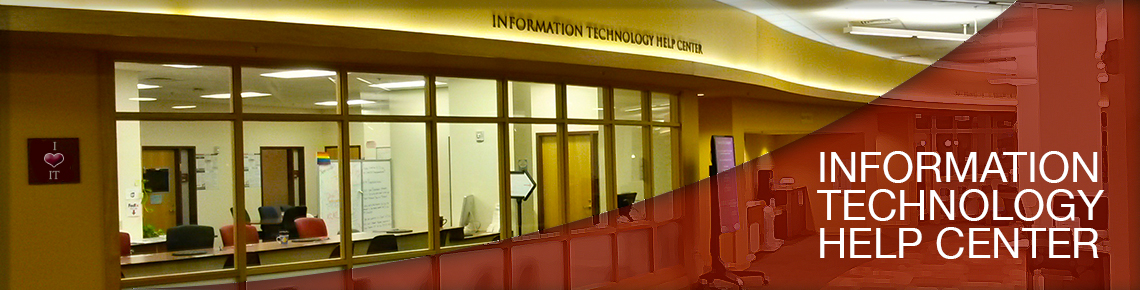
Microsoft Outlook 2003

Outlook is a powerful organization program that allows you to manage multiple Email accounts, personal calendar, and task management.  Follow these instructions to configure the mail settings in Outlook XP for the University of Denver's email system.

Step 1: Opening Outlook 2003

Go to your PC Start menu. Click Start, then All Programs, then Microsoft Office, then Microsoft Office Outlook 2003:


Step 2: Configuring Outlook for DU Email

  • On the top menu bar, click Tools , then Email Accounts .  Select Add a new e-mail account .

  • Click on Next , and select IMAP as the server type. (DU mail server also supports POP3 .) 

IMAP vs. POP

IMAP:
  Email messages are stored directly on the email server and can be accessed with any client or server side program.
POP:
  Email messages are downloaded from the server to the hard drive of your computer and are read through a software program such as Outlook or Netscape Messenger. 

Note: It is suggested to configure your account using IMAP for the following reasons:

  1. If the hard drive of your computer "crashes," a backup on the server is available with all of your saved e-mail messages.
  2. If you check your e-mail both at work and at home it is much easier to track and organize your messages using IMAP.

Illustrations below are shown in IMAP:


  • In Internet E-mail Settings (IMAP), enter your first and last name and complete DU Email address (login@du.edu).
  • Your User Name is your login (jstudent). Enter your email account password as requested. Leave the Secure Password Authentication (SPA) checkbox empty.


  • Enter mail server information:
    The incoming server name consists of mail.du.edu. Example: For login jstudent, the server is: mail.du.edu

    The outgoing server name is mailout.du.edu if you are using the University of Denver as your Internet Service Provider (i.e. you are either on campus or using a modem to dial in to the University's network).


NOTE: If you are using an ISP other than DU, you will need to contact your ISP to request their Outgoing Mail Server information.


Now the basic configuration of your DU email on Microsoft Outlook is complete! Click Finish, and Send and Receive to start using your email.